

In Microsoft 365, there are often multiple ways to achieve the same outcome. Scheduling Teams meetings is one example of this, as users can organise meetings through both the Teams app and Outlook. Let’s explore each option in more detail.
Meeting Scheduling using Outlook
With email remaining a critical communication medium in most workplaces, for many, Outlook is the focal point of daily office life. As a result, this is probably the most popular way to schedule Teams meetings.
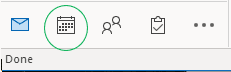
To get started, navigate to your calendar at the bottom left of the Outlook window.
If you want to arrange a group meeting, bring up the relevant group calendar.
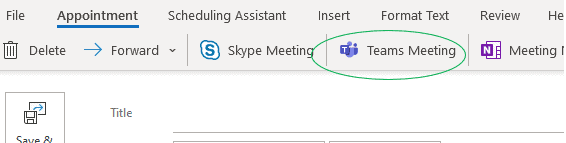
Choose the time or date for your meeting by double-clicking on the calendar. This will cause a meeting window to appear with the time you’ve selected already populated. It should look like this…

From here, select ‘Teams Meeting’ from the ribbon.
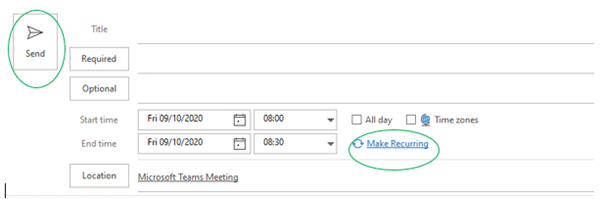
The meeting window will then change, allowing you to enter the full set of details required to schedule the meeting. Add a title, specify those required to attend and those for whom attendance is optional, and then stipulate a start and end time. You can also programme the meeting to be recurring.
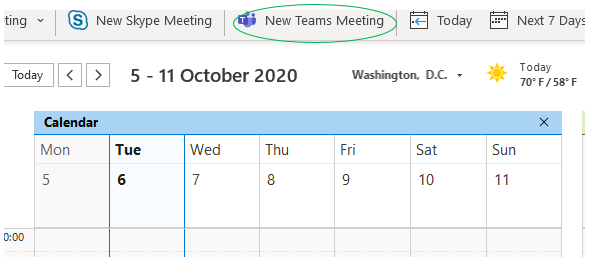
Alternatively, you can navigate straight to this meeting window form your calendar without first selecting time by clicking ‘new teams meeting’ as shown below.
After clicking send, all those requested to join the meeting will be sent an email containing the meeting information. You can also trigger reminder emails to be sent so that no-one forgets to attend.
Scheduling meetings from within Teams
There are various ways to launch or schedule a meeting within Teams, but the most common route is via the ‘Calendar’ tab located on the left of the window.
You’re then presented with 2 options for launching a meeting: ‘Meet Now’ and ‘New Meeting.’

![]()
‘Meet now’ is a quick launch method. It immediately opens a meeting window from which you then add the names of people you wish to attend.
‘New Meeting’ allows you to plan a meeting in advance and features scheduling functionality that lets you check to see when everyone is free to attend.
Upon clicking ‘new meeting’ a form will appear into which the meeting details can be entered.
This is where things get clever…
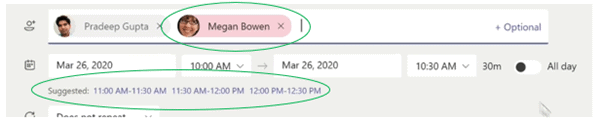
Once you’ve selected time and date for your meeting and entered the names of those you want to attend, Teams flags up any time conflicts that exist between the specified meeting time, and the schedules of your attendees. If someone is unable to attend, their name will appear in red. The scheduling tool will also suggest meeting times that don’t result in such conflicts. See below.
If you need more detailing insight into the schedules of attendees you can open the ‘scheduling assistant.’ This helpful tool displays everyone’s schedule so that you can identifying times when everyone is free.

Once you’ve included all the relevant meeting details, click send ‘send.’ Everyone requested to attend the meeting will then be sent a notification. The meeting will also appear in the calendar of all requested attendees; both in Teams and Outlook.
Making Changes to a Scheduled meeting
After scheduling a meeting, you can return to it to make changes. You can alter the meeting information – you might want to add additional attendees or change the scheduled time. You can also attach files to a meeting; this is useful if you intend to discuss a document, as attaching the file beforehand will allow participants to review it prior to the meeting taking place.
To make changes, locate the meeting in your Teams calendar and double click. You’ll then be presented with the meeting details which you can update. Once alterations have been made, click ‘send update’ in the top right to save changes.

You’ll also notice a number of other tabs at the top of the screen…

Click on ‘chat’ to discuss the meeting ahead of schedule and upload relevant files using the ‘files’ tab, either from your computer, OneDrive account or SharePoint.
We’re Elixis Technology
In the ever-changing, technology-centric world we live in, it’s vital to have an I.T. solution source you can count on. At Elixis Technology, it is our mission to help businesses — big and small — produce the results their customers demand, with technology that actually works.